Caring for your new cross country skis
Your new skis will last many years when cared for properly. If you avoid skiing on debris, regularly wax your glide zones and keep your skins clean you will maximize the lifespan of your skis.

Glide zone maintenance
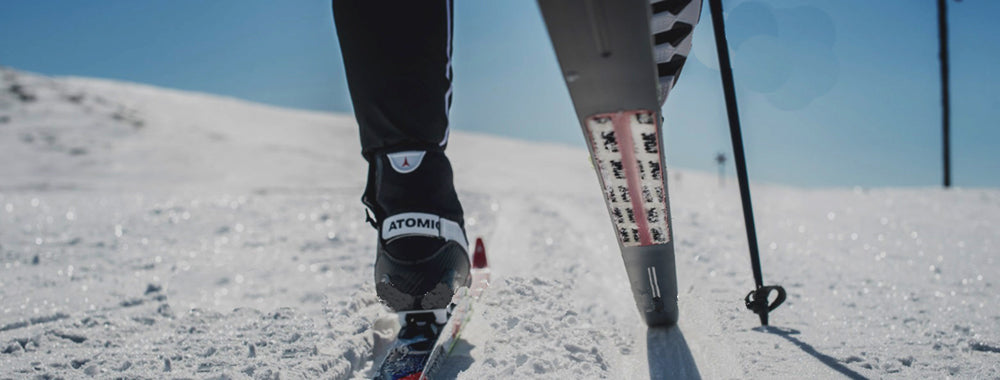
This applies to any ski - skate skis, fishscale skis, waxable classic skis, skin skis - as they all have glide zones. Glide zones are the smooth parts of your ski base. This is the entire base of a skate ski or the tips and tails of a classic waxable or skin ski.
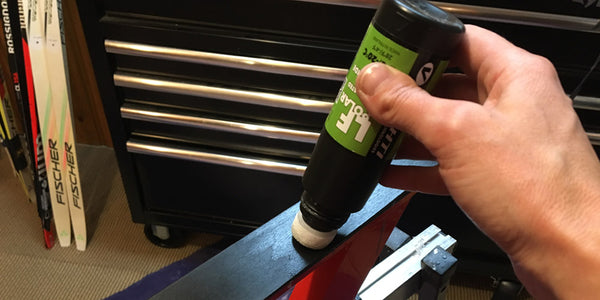
Waxing your glide zones is a little like putting oil in the engine of your car. Your skis will last longer and run better. Snow is abrasive and wears your wax off so make sure to apply glide wax to your skis about every 50km or so of skiing. Don't worry about applying it too often; you cannot over-wax your glide zones. It is best to do this at room temperature.
You will need:
- liquid glide wax
- nylon brush
Optional:
- natural cork
- glide zone cleaner
- lint-free cloth
- liquid base wax
If you want to keep things simple just get a bottle of liquid glide wax and a brush and use the quick and easy method described below. It will make a big difference over doing nothing to your skis! If you have the time to properly treat your skis, use the full method.

Quick and easy method:
First brush your glide zones with the nylon brush to loosen dirt and contaminants. Shake your bottle of liquid glide wax and rub the dabber applicator along your glide zones until the bases are evenly wet. Let dry completely (at least 15 minutes) and then brush the glide zones with a nylon brush until the bases are shiny. Brush in a tip-to-tail direction.
Full method:
For the most complete glide zone treatment, brush the glide zones and then clean with a glide zone cleaner. This is an important step. Squirt the liquid cleaner (glide cleaner, NOT regular wax remover!) onto the glide zones, let sit a few minutes, then rub dry with a lint-free cloth. This removes dirt and contaminants that would degrade your ski base and the wax job you are about to apply.
Once your clean bases are fully dry, apply a base wax. This creates a dirt-resistant coating which results in a longer lasting wax job. Shake the bottle, rub the liquid evenly onto your glide zones, and let dry completely (at least 15 minutes), then brush until the base is shiny.
Finally, apply the liquid glide wax. Shake well, rub the liquid evenly onto the glide zones, let dry, then rub a clean natural cork on the glide zones. The frictional heat helps the wax job last longer. Finally, polish with the nylon brush running it tip-to-tail over the glide zones until they are shiny. This gets wax out of the fine structure in your ski base and maximizes your glide.
Note: if you have fish scale waxless skis you can wax and brush the full length of the ski base, right over the scale pattern. Just make sure you don't rub a cork over the scale pattern.
Skin maintenance
Your skin is ready to ski on. There are only two products you may need for the skins themselves:
- Skin Cleaner. Use this if you get something sticky in your skin, such as wax from the ski trail from someone else's skis. Squirt the liquid onto the skin and rub it in gently from side to side with a lint-free cloth until it is clean.
- Skin Care. This is an anti-icing agent. Put this on your skin before you go out skiing when the temperature is around the freezing point. This helps prevent snow and ice from building inside the skin. It also helps prevent the hairs from getting too wet and clumping together, which greatly reduces your grip. To use, rub the liquid gently into the skin with the applicator until the skin is wet. Let dry, then go ski. In the photo below you can see Kevin had applied Skin Care before he went out skiing, and Sarah did not ;)

Your skins should last many seasons. You'll know it's time to replace them when you start struggling to get grip.


Comments
Leave a comment